Explore Original Manga Stories & Digital art Adventures

Welcome to the Manga Stories section of Manga4Art, where creativity comes to life through engaging stories, memorable characters, and exciting adventures. Whether you enjoy action, fantasy, romance, mystery, comedy, or slice-of-life, you'll find a growing collection of manga-inspired stories created for anime and manga fans.

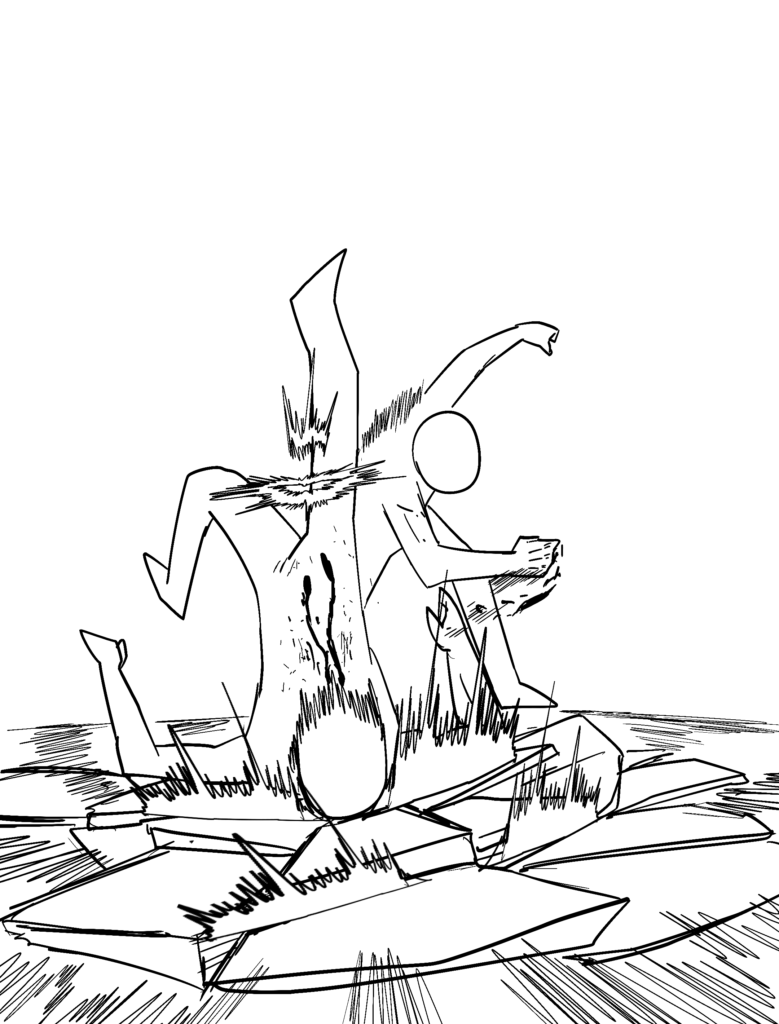
Punch impact manga fight
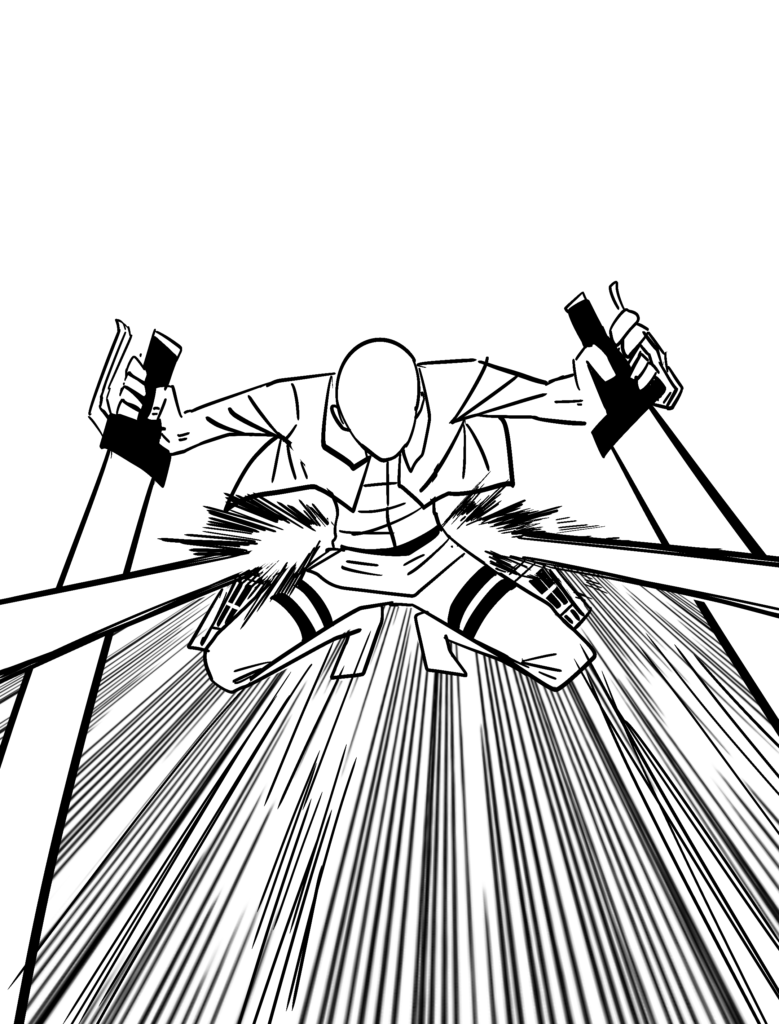
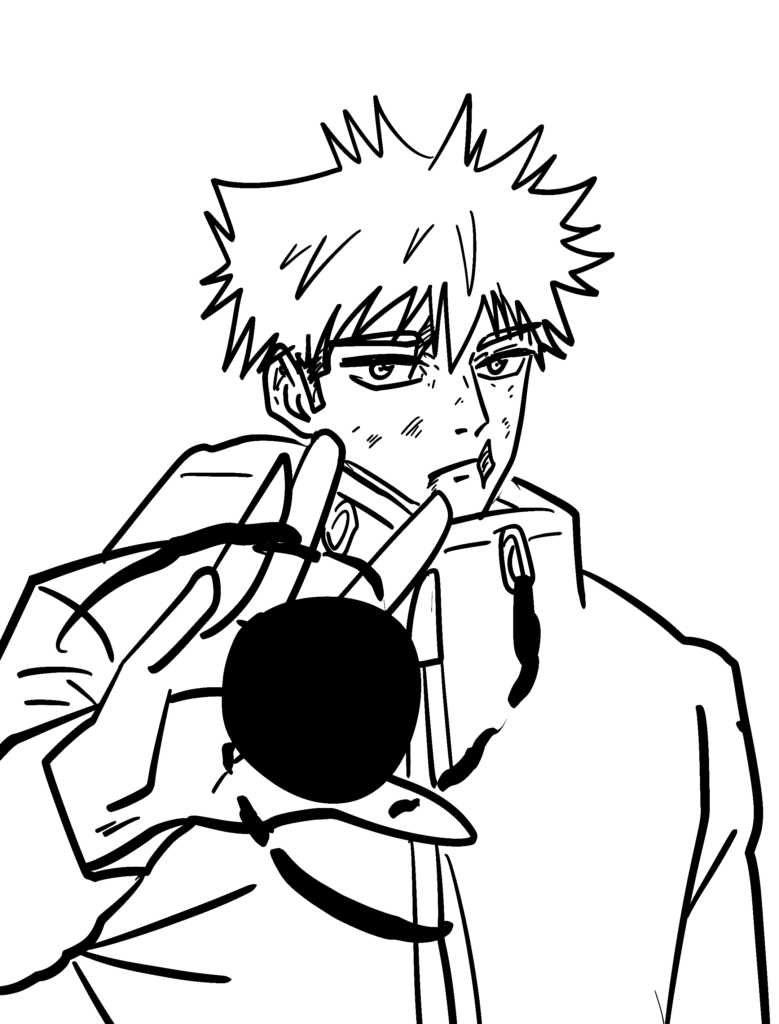
Drawing an anime character
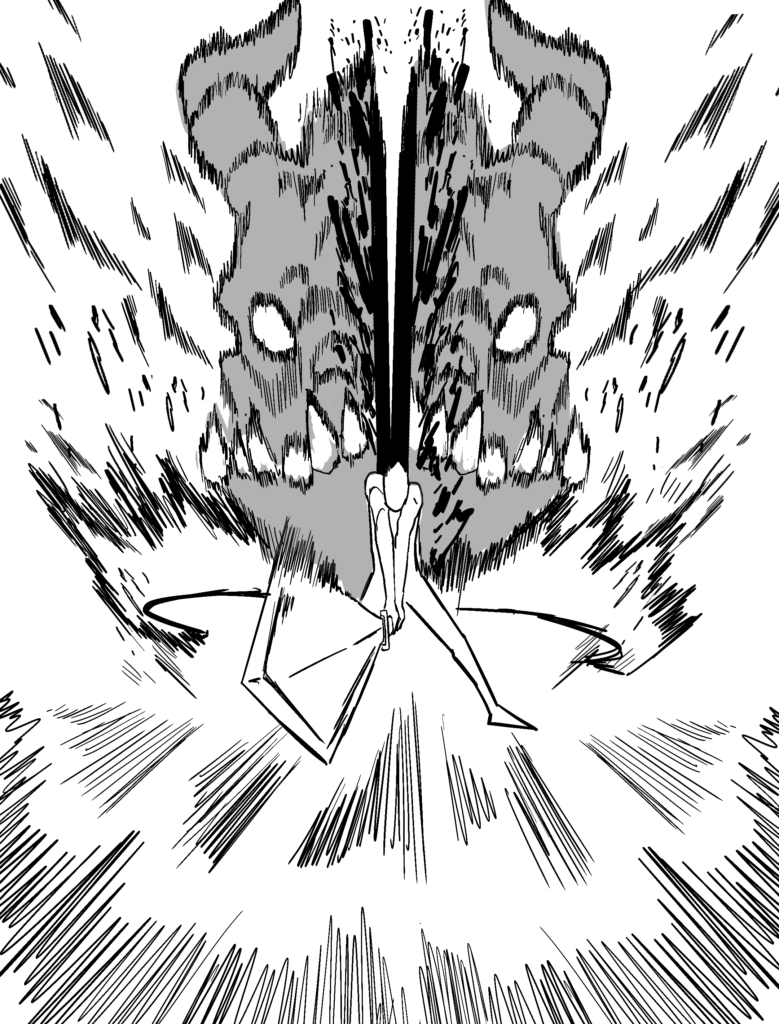
Manga hero character fight

Understanding Manga Anatomy & Motion: Behind the Scenes of Action Panels

Welcome to my manga storytelling corner. In this project, I explore how static drawings can communicate high-stakes action and kinetic energy. Creating a compelling manga panel is not just about drawing a character; it is about directing the viewer’s eye through a sequence of events. Whether you are an aspiring artist or a fan of the medium, understanding the mechanics of these illustrations is a great way to appreciate the effort behind every frame.
​The Creative Process: From Sketch to Final Panel
Every manga story I create begins as a rough, gestural sketch. In the images above, you can see the focus on anatomy and positioning. The center illustration, for instance, required several iterations to perfect the stance of the character.
​Anatomy & Perspective: I start by mapping out the character’s flow. If the pose feels stiff, the action loses its impact.
​Digital Tools: I rely on Adobe Photoshop for my workflow. Its layering capabilities allow me to separate the line art from the background, which is essential for maintaining clarity during fast-paced battle scenes.
​Why Detail Matters in Manga
Digital manga art allows for a level of detail that traditional pen-and-paper struggle to achieve in terms of lighting effects. By using custom brushes for shading and line weight variations, I can emphasize the intensity of the weapons and the speed of the characters. Notice the background lines in these panels; they are designed to create a sense of movement, drawing the reader directly into the core of the fight.
​Technical Challenges & Solutions
One of the most common challenges I face is maintaining consistency across a story. When drawing characters in motion, features can easily lose their proportions. My solution has been to create a “character sheet” for every lead, ensuring that no matter the pose, the character remains recognizable.
​I often experiment with different contrast levels to see which version best conveys the mood of the scene.
​Learning to balance “negative space” in a panel is just as important as the character design itself.
​Closing Thoughts
Creating these stories is an ongoing journey of learning and improvement. I am constantly refining my techniques to ensure that each panel tells a story of its own. I hope this look into my workflow helps you appreciate the technical side of anime and manga creation.
​Community Interaction: I would love to hear your thoughts! Which of the action frames above feels the most intense to you? Do you prefer detailed battle scenes, or do you enjoy character-focused moments more? Let me know in the comments below!

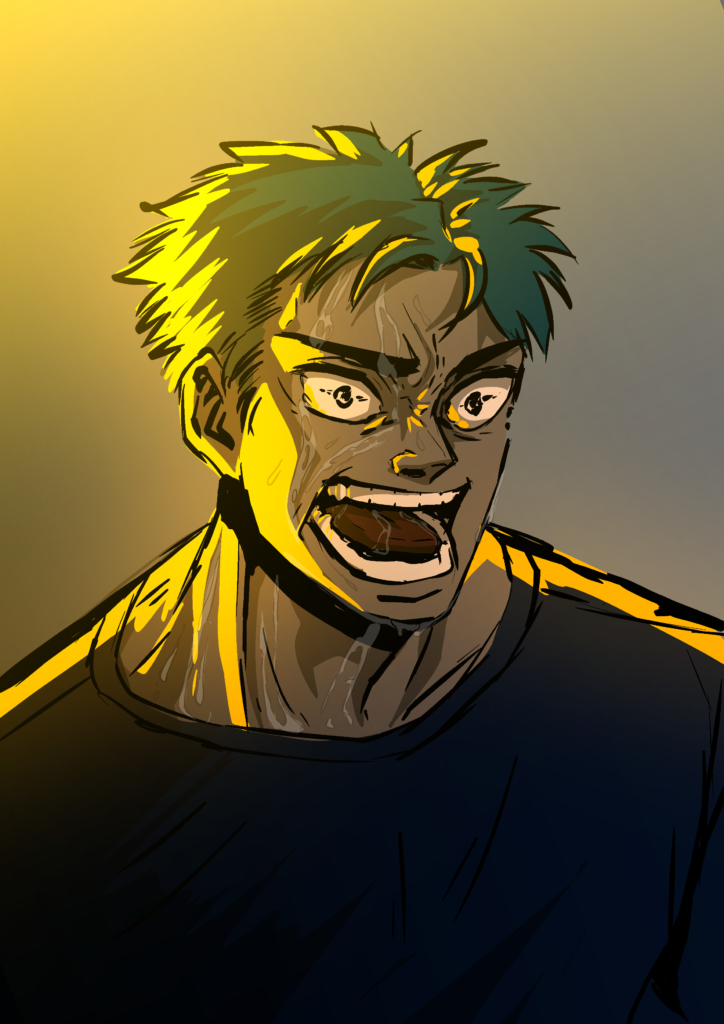
Green hair character drawing digital art

Mastering Manga Motion: A Step-by-Step Guide to Drawing Dynamic Action Panels

Welcome back to my manga storytelling corner! One of the most thrilling aspects of creating manga is learning how to capture explosive, high-stakes kinetic energy on a completely flat, static page. Whether you are a fan trying to understand the magic behind your favorite fight scenes or an aspiring creator looking to level up your work, mastering motion is key.  

In this guide, we will break down the essential techniques used to transform a basic rough sketch into a high-octane action panel.  

1. The Foundation: Gesture Drawing and the “Line of Action”

Before you draw a single sword, armor piece, or facial expression, you must focus on the pose’s energy.  

The Line of Action: This is an imaginary curved line that dictates the flow of the character’s movement. If your character is slashing a sword, the line should bend like a loaded spring to show tension.  

Anatomy & Balance: In action scenes, traditional proportions can sometimes be exaggerated to emphasize force. The key is ensuring the character’s weight and center of gravity feel realistic, even during impossible airborne moves.  

2. Digital Workflow: Organizing Your Action in Photoshop

Creating complex battle scenes requires clean organization, which is why digital tools are a lifesaver. Using software like Adobe Photoshop allows you to structure your process efficiently:  

Keep Layers Separate: Always keep your rough gesture sketches, refined line art, and background effects on different layers. This makes it incredibly easy to tweak a pose or adjust the intensity of a blast without ruining the entire drawing.  

Smart Shading: Use digital shading and high-contrast levels to define where the light hits. High contrast is excellent for dramatic battle scenes, making the characters pop out against dark or chaotic backgrounds.  

3. Guiding the Eye: Speed Lines and Impact Effects

An action panel is only successful if the reader instantly understands how and where the force is moving.  

Speed Lines (Action Lines): These are the straight, repeating lines that run parallel to the direction of movement. They instantly give the illusion of extreme velocity.  

Impact Points: When a fist hits a face or a sword strikes a shield, add visual “shockwaves” or debris. Drawing shattered ground or air ripples at the point of impact anchors the action and gives it physical weight.  

4. Overcoming the Consistency Challenge

One major hurdle every manga artist faces is keeping characters recognizable when they are twisting, flipping, or flying through the air.  

Use Character Sheets: Keep a reference sheet with front, side, and three-quarter views of your characters next to your canvas.  

Master Negative Space: Don’t crowd your panel. Leaving “breathing room” (or negative space) around an attacking character actually makes their movement feel larger and more impactful.  

Closing Thoughts

Bringing action to life on a static page is a continuous process of practice, experimentation, and observation. The more you practice gestural flow and play with perspective, the more powerful your panels will become!  

Community Interaction:

I want to hear from you! When you read manga, what draws your eye first: the detailed character designs, or the explosive motion and speed lines in the background? Let me know your thoughts in the comments below!  
Anime hero super powers drawing

The Ultimate Guide to Digital Drawing on iPad: Best Tools and Techniques for Artists

​The world of illustration has evolved dramatically, and today, the iPad has become a portable powerstation for digital artists worldwide. Transitioning from traditional paper to a glass screen can feel intimidating at first, but digital drawing offers endless possibilities—from infinite undo buttons to layers that keep your work perfectly organized.
​Whether you are a beginner looking to take your first steps or a traditional painter switching to a digital workflow, this guide will cover the essential tools, software, and techniques to master drawing on the iPad.
​1. Choosing the Right Digital Art Software
​The engine behind every great digital drawing is the application you use. While the iPad hardware is excellent, your software choice dictates your entire artistic experience:
​Procreate: Widely considered the gold standard for iPad artists. It features a highly intuitive user interface, thousands of customizable brushes, and a powerful time-lapse feature that records your entire creative process.
​Adobe Photoshop & Fresco: Perfect for creators who want a seamless transition between their desktop computer and mobile device. Photoshop on iPad offers advanced layer controls, masking, and high-end photo manipulation tools.
​Clip Studio Paint: Ideal for illustrative work that requires highly precise vector lines and complex panel structures.
​2. Mastering the Stylus: Pen Pressure and Matte Screen Protectors
​Drawing on a smooth glass surface feels very different from the natural friction of paper. To get the most out of your digital pencil, consider these adjustments:
​Adjusting Pressure Curves: Every artist has a different hand weight. Go into your software settings and calibrate the pen pressure curve. If you find yourself pressing too hard, adjusting the curve can prevent wrist fatigue and give you smoother line weight variations.
​The Paper-Like Phenomenon: Many digital artists use matte screen protectors. These specialized covers add a slight texture to the glass, mimicking the friction of traditional paper, which significantly improves line control and precision.
​3. The Digital Advantage: Layers and Non-Destructive Editing
​The greatest superpower of digital drawing is the ability to work “non-destructively.” This means you can experiment with bold ideas without ever ruining your foundational work.
​Layer Organization: Always separate your rough gestural sketch, your clean line art, and your base colors onto different layers. This allows you to edit or recolor a specific element later without touching the rest of your composition.
​Alpha Lock and Clipping Masks: These technical features allow you to paint texture or shading strictly within the boundaries of a pre-drawn shape, saving you hours of clean-up time.
​4. Understanding Color Spaces: RGB vs. CMYK
​One critical mistake many new digital artists make is choosing the wrong color profile before starting a project.
​RGB (Screen Display): If your artwork is meant for Instagram, portfolios, or websites, always work in RGB. It offers a much wider and more vibrant spectrum of colors.
​CMYK (Print Production): If you plan on printing your digital art onto posters, stickers, or canvas, select CMYK. This ensures the colors you see on your iPad screen match the physical ink used by professional printers.
​Closing Thoughts
​Digital drawing on the iPad is not about replacing traditional art; it is about expanding your creative horizons. With the right software, a properly calibrated stylus, and a smart workflow, your tablet can become the ultimate canvas for your imagination.
​Community Interaction:
​What is your current go-to setup for digital art? Do you prefer drawing on a dedicated tablet connected to a computer, or do you love the portable freedom of the iPad? Let us know in the comments below!
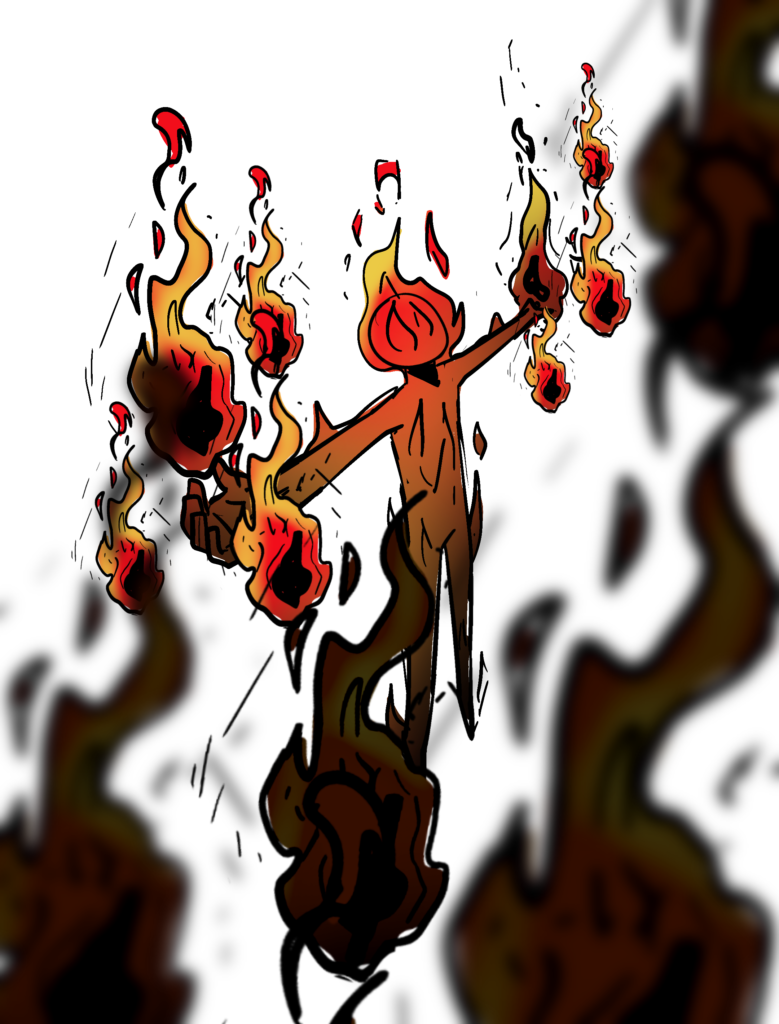
Anime style fire charcter
Lesson 1p 1
Essential Percussive Guitar Riffs

A huge guitar lesson with me, over 2 hours long, based around 10 riffs which I've specially composed to take you deep within my playing style.

Lesson 2p 1
Essential Percussive Guitar Riffs - Volume 2

VOLUME 2 is here! An even longer lesson, at over 2.5 hours of detailed instruction from me, covering a huge range of modern techniques.

Lesson 3p 1
Essential Percussive Guitar Riffs - Volume 3

VOLUME 3! This is a huge three hour video of personal instruction, with yet more new techniques, new riffs to learn and compositional ideas for you to use.

Lesson 4p 1
Essential Percussive Guitar Riffs -Volume 4

VOLUME 4! This is a huge four hour video of personal instruction, with yet more new techniques, new riffs to learn and compositional ideas for you to use.

Lesson 5p 1
Essential Percussive Guitar Riffs -Volume 5

VOLUME 5! A huge guitar lesson with me, over 5 hours long, based around 10 riffs which I've specially composed to take you deep within my playing style.

Lesson 6p 1
Essential Percussive Guitar Riffs -Volume 6

VOLUME 6! A huge guitar lesson with me, over 6 hours long, based around 50 riffs which I've specially composed to take you deep within my playing style.

Newsletter

Stay In Touch 1
Stay In Touch With Me, Get Every Day, New Tabs, Tips &Amp; Tricks

You'll also get occasional news on tour dates and new music releases.